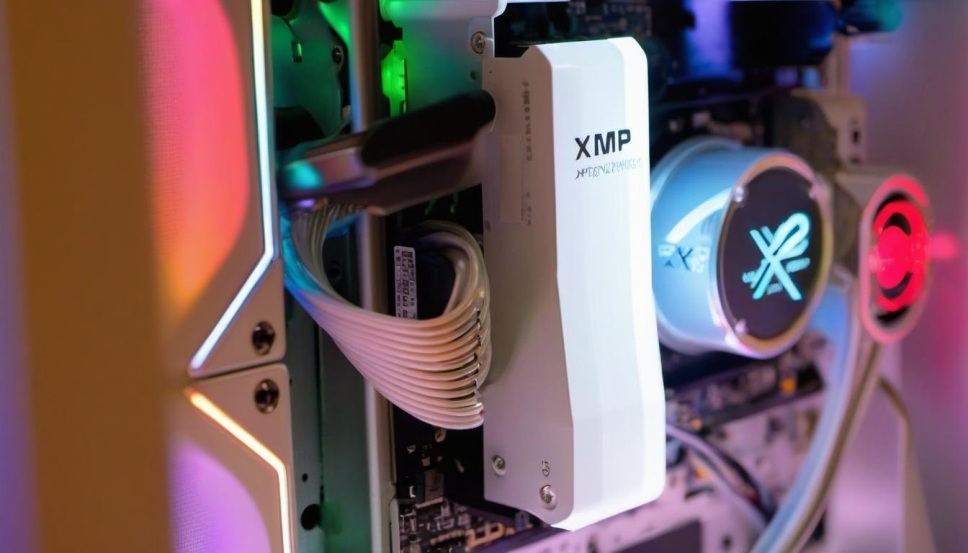

When it comes to system performance and multitasking, RAM is one of the most important components. A technology that helps to optimize and enhance RAM performance is XMP, or Extreme Memory Profile. Let’s explore what XMP is, how it works, and why it’s crucial for your computer’s performance.
What is XMP?
XMP stands for Extreme Memory Profile, a feature developed by Intel to allow users to push their RAM to perform beyond the standard specifications. By activating XMP, your system can take advantage of pre-configured profiles that boost RAM speeds with ease, making it an attractive option for gamers and performance enthusiasts alike.
How Does XMP Function?
XMP profiles are embedded within the RAM, offering users a simple method to overclock their memory. By enabling XMP in the BIOS or UEFI settings, users automatically adjust the memory’s clock speed, timings, and voltage for better performance, without needing to manually tweak these settings.
Why XMP Is Important for RAM
1. Boosted Performance
The most significant benefit of enabling XMP is improved overall system performance. With faster memory speeds, your computer can access and process data more efficiently, offering tangible improvements in gaming, video editing, and other high-demand tasks.
2. User-Friendly Overclocking
Overclocking can be intimidating for many users. XMP takes the guesswork out of the equation by providing pre-tuned profiles that can be enabled with just a few clicks in the BIOS, making it accessible to both beginners and experts.
3. Stability Guarantee
Unlike manual overclocking, which can lead to system instability, XMP profiles are tested by the manufacturer to ensure that the increased speeds do not cause crashes or hardware failures, offering a stable performance boost.
How to Activate XMP
Enabling XMP is quick and simple. Follow these steps to unlock the potential of your RAM:
Step 1: Enter BIOS/UEFI
To access the BIOS, restart your computer and press the appropriate key (typically F2, Delete, or ESC) during boot-up. Check your motherboard manual if you’re unsure about which key to press.
Step 2: Locate the XMP Option
Once in the BIOS, find the memory settings or overclocking tab. Look for the XMP option listed there.
Step 3: Select Your Desired Profile
Typically, there will be multiple XMP profiles available. Choose the one that best suits your needs, with Profile 1 being the most commonly recommended.
Step 4: Save Settings and Exit
Once you’ve selected the XMP profile, save your settings and exit the BIOS. Your system will now run with the enhanced memory settings.
Check Compatibility Before Enabling XMP
Before you enable XMP, ensure your system supports it. Both your motherboard and RAM must be compatible with XMP for it to function correctly.
Check Your Motherboard
Verify that your motherboard supports XMP by checking its documentation or manufacturer’s website for detailed specifications.
Ensure RAM Compatibility
Your RAM modules should be XMP-capable as well. This information can be found on the product packaging or online specifications.
Where XMP Excels
1. Gaming Performance
For gamers, XMP is a game-changer, offering smoother frame rates, faster load times, and an overall better experience in demanding titles.
2. Professional Applications
Professionals working with demanding software like video editing tools or 3D rendering programs will appreciate the faster data processing enabled by XMP, which can significantly cut down on render times.
3. General Computing
XMP also benefits everyday computing tasks, enhancing the system’s responsiveness for smoother web browsing, media streaming, and office work.
XMP vs. Manual Overclocking
XMP provides an easier, safer alternative to manual overclocking. Here’s a breakdown of the differences:
Ease of Use
XMP is straightforward and requires little technical knowledge, while manual overclocking can be challenging for users unfamiliar with the process.
Performance Potential
Manual overclocking may offer a slightly higher performance boost, but it also requires more time and expertise. XMP, on the other hand, delivers solid improvements with little effort.
Stability
XMP profiles are designed to ensure stability, while manual overclocking may result in system crashes or instability if not done properly.
Debunking Common XMP Myths
XMP is Only for Hardcore Gamers
While XMP offers excellent benefits for gamers, it’s also valuable for users who work with professional software or simply want improved system performance.
XMP Will Damage My Hardware
When used as intended, XMP is safe for your hardware. It operates within safe parameters, unlike manual overclocking, which can be risky without proper precautions.
XMP Troubleshooting
If you experience problems after enabling XMP, here are a few common issues and their solutions:
System Won’t Boot
If your system fails to boot, reset the BIOS to its default settings by clearing the CMOS, either through the battery or motherboard jumper.
Instability After Enabling XMP
Try selecting a different profile or manually adjusting the settings to ensure stability. If necessary, reduce the memory clock speed.
Overheating
XMP profiles may increase the power consumption of the RAM, which can lead to higher temperatures. Make sure your system has adequate cooling.
What’s Next for XMP?
As RAM technology advances, XMP will likely evolve with even more sophisticated tuning options and potentially integrate AI features for automated optimizations, offering users even better performance enhancements in the future.
Wrapping Up
XMP is a valuable feature for anyone looking to improve their system’s performance with minimal effort. By activating XMP, users can enjoy increased RAM speeds, better multitasking capabilities, and smoother overall system performance. Ensure compatibility and follow the simple steps to unlock the power of your RAM.
XMP is an accessible and reliable way to get the most out of your system, whether you’re gaming, working professionally, or just looking for a faster, more responsive computing experience.


